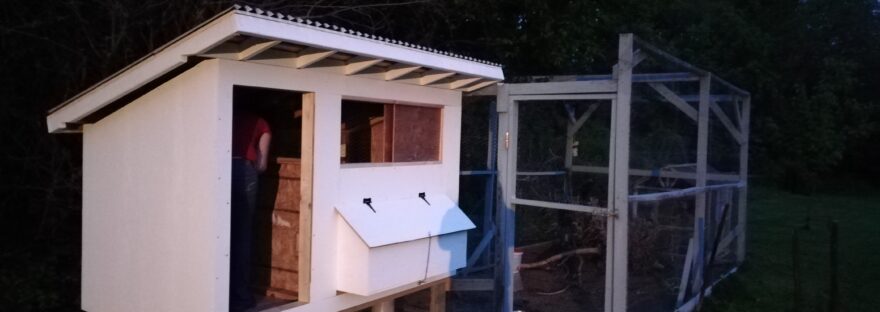
Our new coop may look huge, but it’s not all chicken space!
One of the things we wanted to include in our new coop was a storage area. We wanted a place we could keep their food, bedding, treats, etc…
The storage area is about 28″x48″. It was pretty easy to add a dividing wall. We kept a top area open with chicken wire for more ventilation.
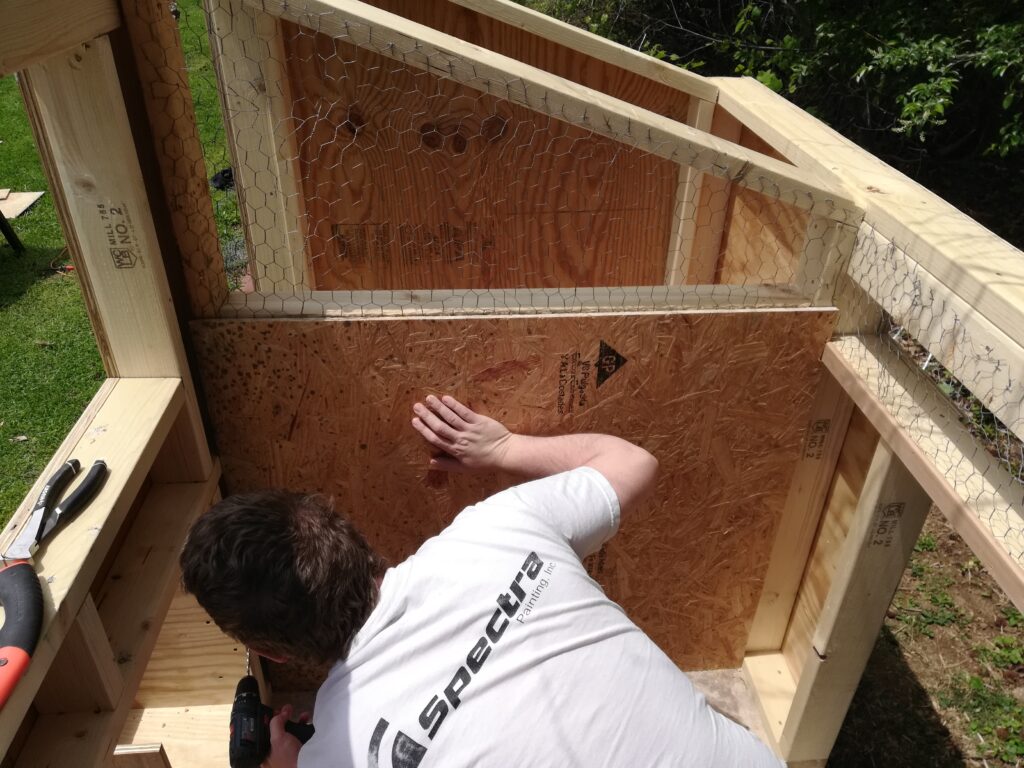
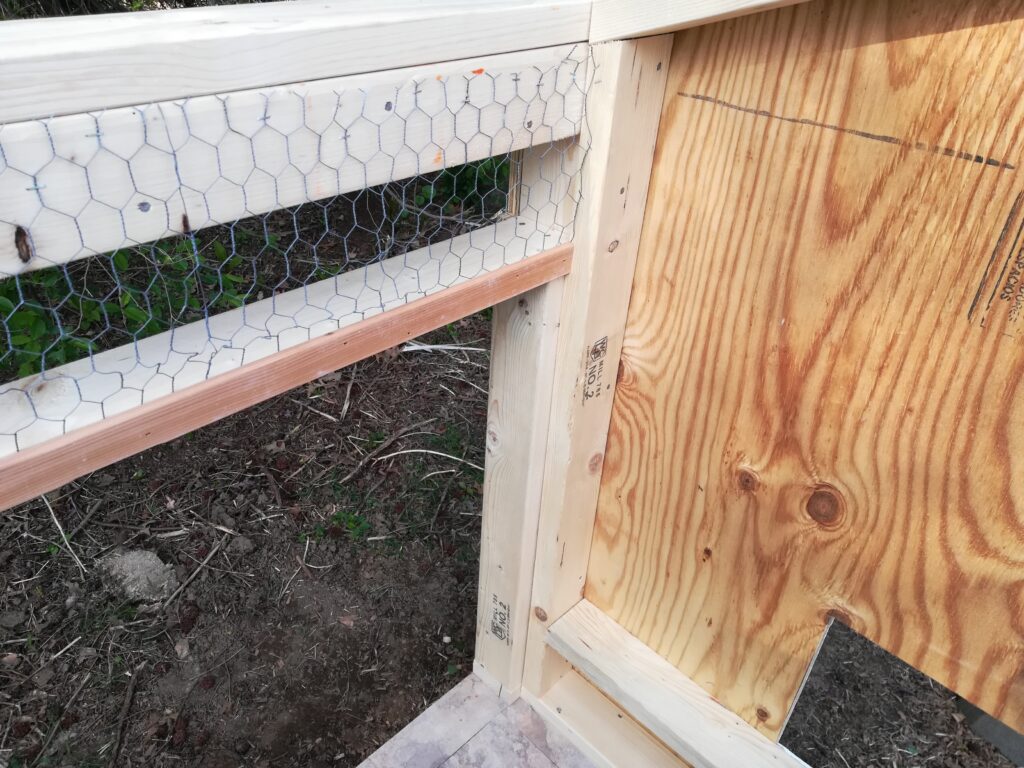
For even more ventilation, we also added a long window that stretches the whole length of the chicken area. I chicken wired it and we built a hinged panel on the outside so we can shut it during the winter or if the weather gets too crazy.
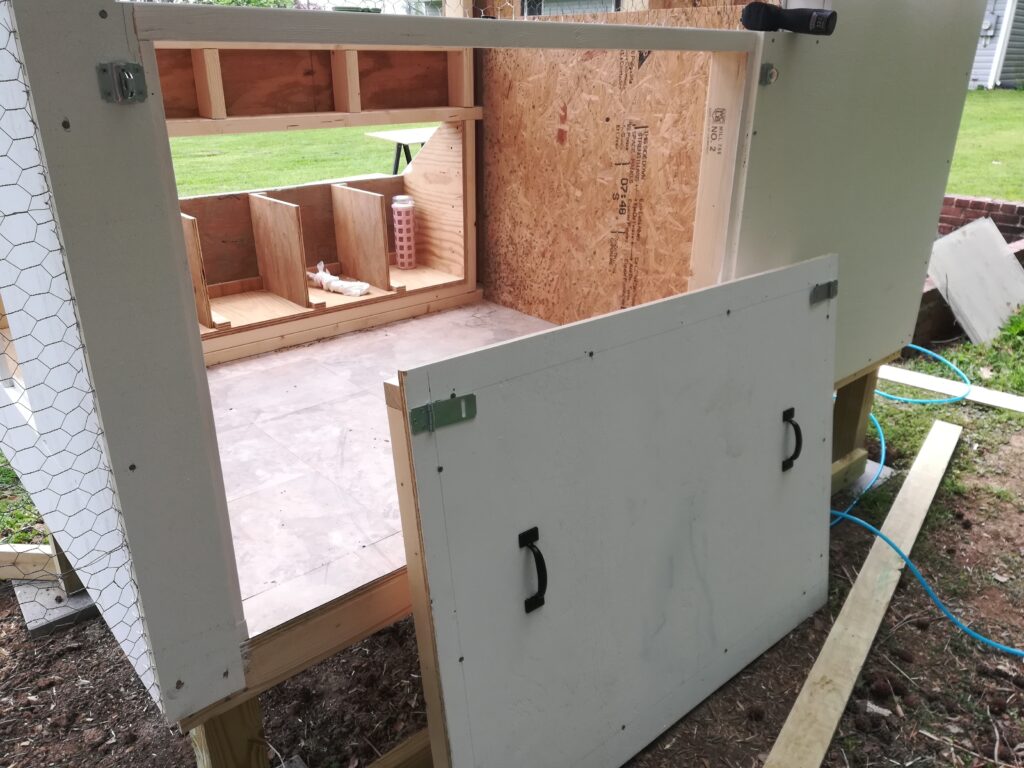
One thing I am super excited about is this removable panel/door we have on the back for easy cleaning access! The frame on the door fits just inside the opening on the back, making sure the plywood siding meets up perfectly so there are no gaps into the coop.
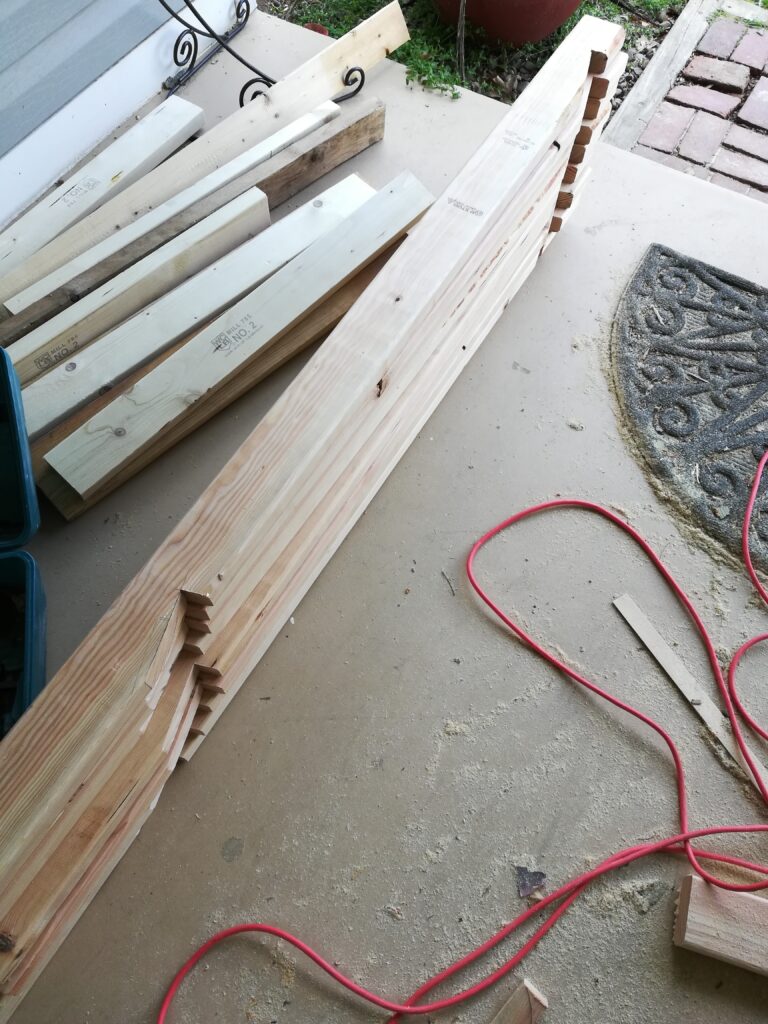
The roof was so fun to build! Vito framed it up, and we attached it to the top. Since we made the roof with only one pitch, Vito notched each each rafter so it sat at just the right angle. He tells me the notch is called a bird’s mouth.
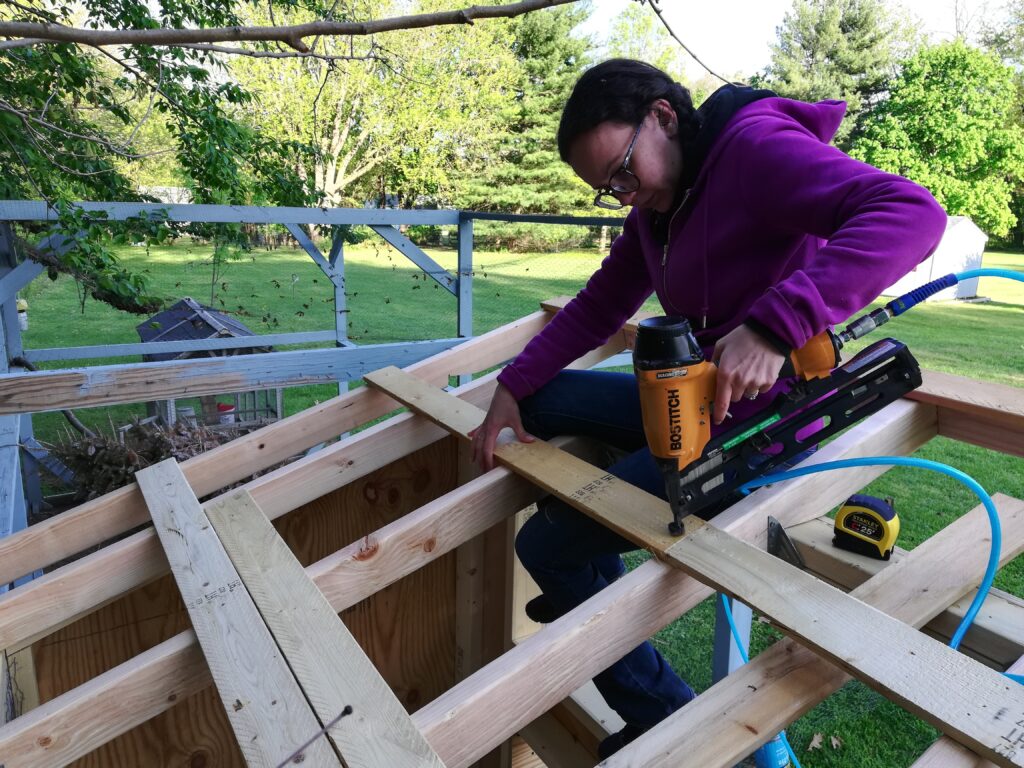
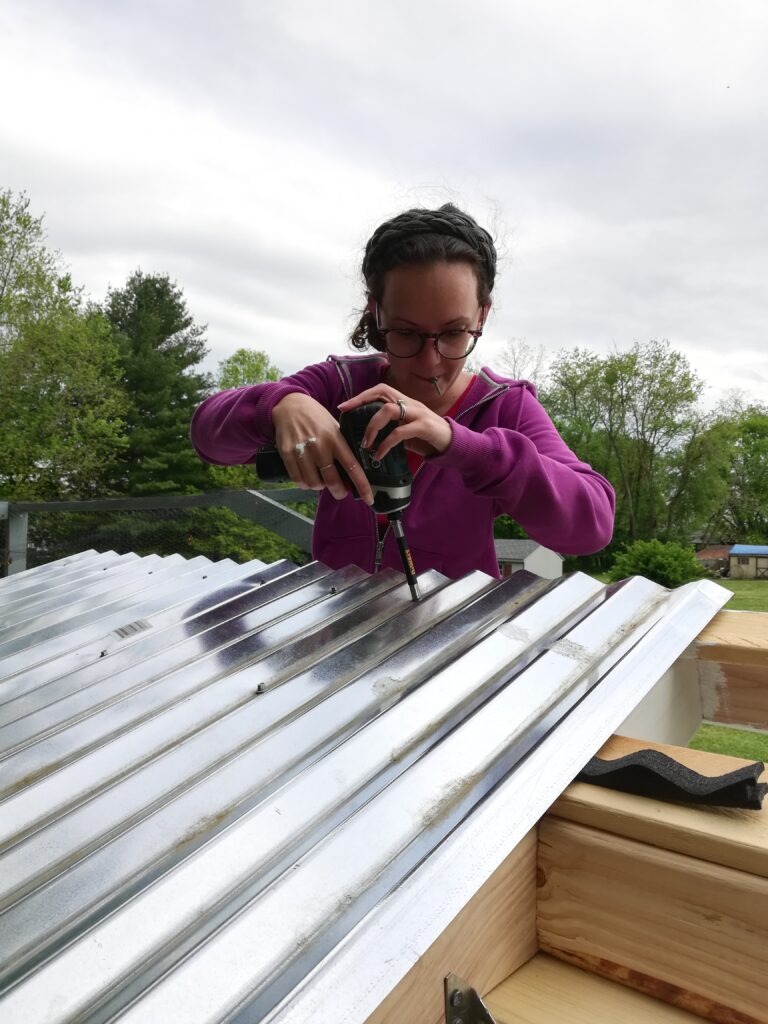
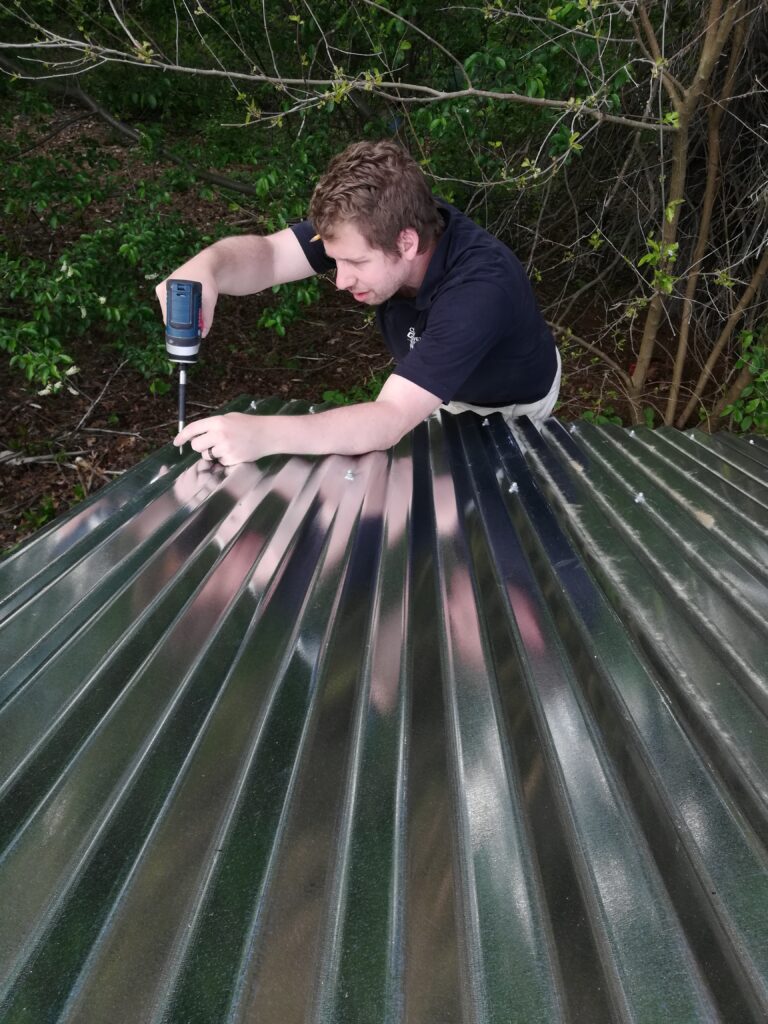
We decided to use metal on the roof. This required purlins going across the roof frame. This allowed us to screw the metal roof down in the specific spacing that is needed.
Under each metal roof panel we added weather strips that are made just for this kind of roof.
It was so close to being livable for the hens now that the roof one on! We just needed to wire around the bottom, and connect the end to the run area. We used hardware cloth for this instead of chicken wire because it is more durable/safer.

Now that everything was enclosed and safe for the ladies, it was time to move them in! This same night we also moved the baby chicks outside into the old, smaller coop.
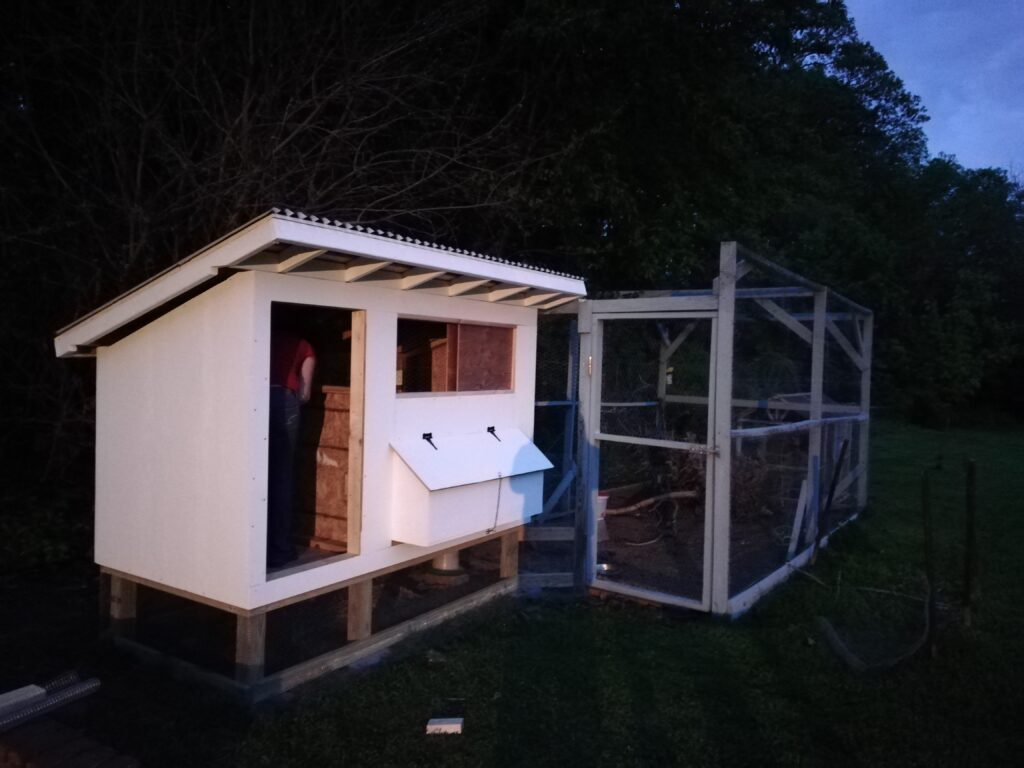
It was a night of big changes, and everyone adjusted really well!
Even though the coop was livable, there were still some finishing touches we wanted to add… like a door to the storage area… Stay tuned for the finishing touches!

